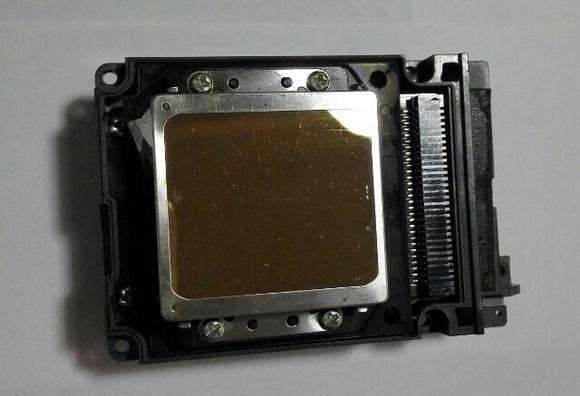
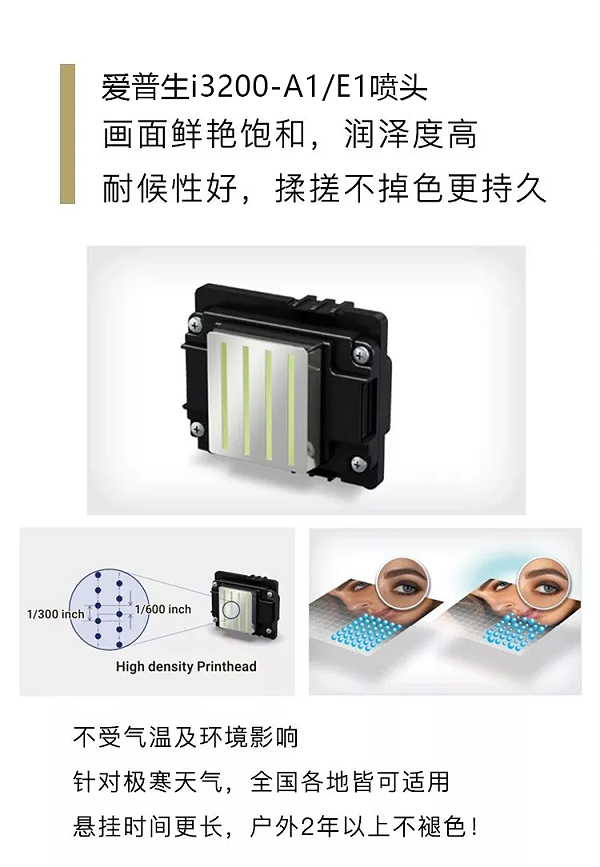
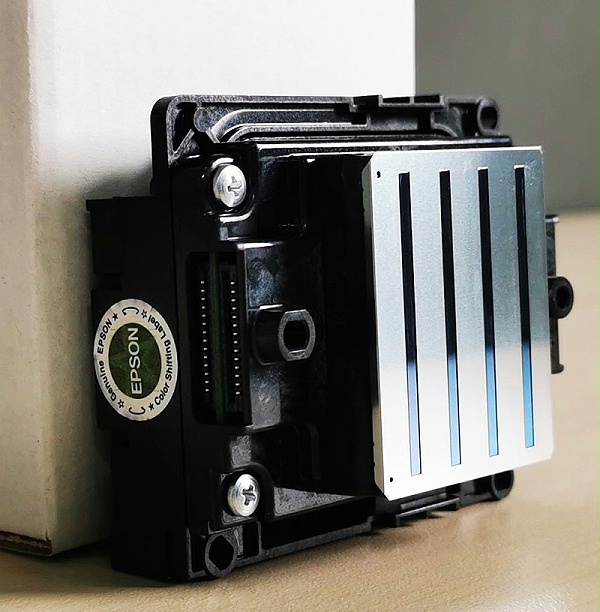
For inkjet printing photo machines, sometimes for a long time, users will find that the printed text or images appear broken lines, color distortion, handwriting blur, and sometimes even can not print. Such a failure is often due to the photo machine nozzle is blocked, for example, after the photo is placed for a long time, excessive evaporation of water leads to dry ink, or because of the chemical reaction caused by the mixed use of different inks, so that the photo machine nozzle can not work normally, so it needs to be repaired.

First, clean the nozzle with the driving tool
If the photo machine nozzle blockage is not very serious, you can print normally, but the printed document is less than the previous one(For example, the handwriting of some words is unclear or the partial color of the photo is off-color)If you don't want to be too troublesome, you can use the application tool that comes with the photo machine driver to clean the printer nozzle, in general, most inkjet photo machines will come with ink cartridge cleaning tools. Using the application tool of the photo machine driver to clean the nozzle has the advantage of simple and fast operation, and the disadvantage is that the cleaning effect is not ideal. Finally, if you feel that you are still not satisfied, you can click the "Calibrate print cartridge" button in the "print Toolbox", and then click the "Calibrate" button in the middle of the window that appears, and then start to calibrate the print cartridge, after the calibration is completed, you will find that the print quality will be further improved.

Second, manually clean the print nozzle
There will be broken lines, white channels, color bias and other problems in the print output, but there is still ink in the cartridge, and this blockage of the nozzle needs to be cleaned manually. First of all, the ink cartridge in the photo machine will be removed, and it will be found that the bottom of the ink cartridge has a part similar to the integrated circuit, which is where the nozzle is located 50℃~60℃Pour the warm water into a clean, clear cup, and then dip the nozzle at the bottom of the cartridge into the water to soak10~30Minutes. It should be noted that only part of the nozzle can be submerged in water, do not put the entire cartridge into the water. steep 10~30After minutes, remove the ink cartridge from the water, shake it dry with moderate force, the nozzle part will throw out some ink, blot the ink at the nozzle of the ink cartridge with a napkin, install the ink cartridge after cleaning, the ink cartridge cleaning process is completed, and finally use the photo machine to print the test, compare the effect after cleaning. Sometimes the photo machine is not used for a long time, some users will be the ink cartridge directly external, which is easy to lead to blockage of the nozzle, and the internal ink is dry, at this time can not print, then the need for "special" treatment, prepare the concentration95%Alcohol, a clean cup, a disposable syringe. The plastic tube of the disposable infusion set is connected to the ink supply port of the print head, and the print head is placed in the concentration95%In the alcohol, the alcohol is sucked into the syringe needle through the print head, and the print head with serious blockage can be cleaned after several inhalations.
